Introduction
I have an old Dell Latitude E7470 that was collecting dust. It’s not an old laptop in terms of specs but it was literally unusable - the battery lasted for less than 1 hour, the keyboard is broken, it heats up too much and had so many other problems. However, I don’t like having my tech collecting dust, so I decided to repurpose my laptop into my homelab server.
You also need a server right now! Why??? Well, you can host a web application, discord/telegram bot, game server, NAS (Network Attached Storage), VPN(Virtual Private Network), have a media server that auto-downloads your movies,shows & anime from legally obtained sources which you can serve to your friends like a personal Netflix and so much more. With the power of Linux (pls don’t use windows lol, it’s really bad for server use), you can turn any computer into a server.
This post goes over how I converted my old Dell Latitude E7470 into a server. I will be using Debian 12 as the operating system because I love debian and it’s rock solid linux distribution for servers.
If you are more experienced with linux, I would recommend using Proxmox as a Type-1 Hypervisor. This would allow you to spin up LXC containers and VMs with ease. Also check out Proxmox VE Helper-Scripts
This is not really a guide but more of a documentation of what I did. I will try to explain things as much as I can but I will not be going into details. If you have any questions, feel free to ask me. I highly recommend you to read the official documentation of Debian or the operating system you are using. If you are completely new to Linux, I recommend you to watch some youtube videos and learn about Linux and system administration.
I will be completly skipping over the installation of Debian. It’s pretty straight forward. Just boot into the live USB, follow the instructions and you are done.
Configure IP to connect to the server
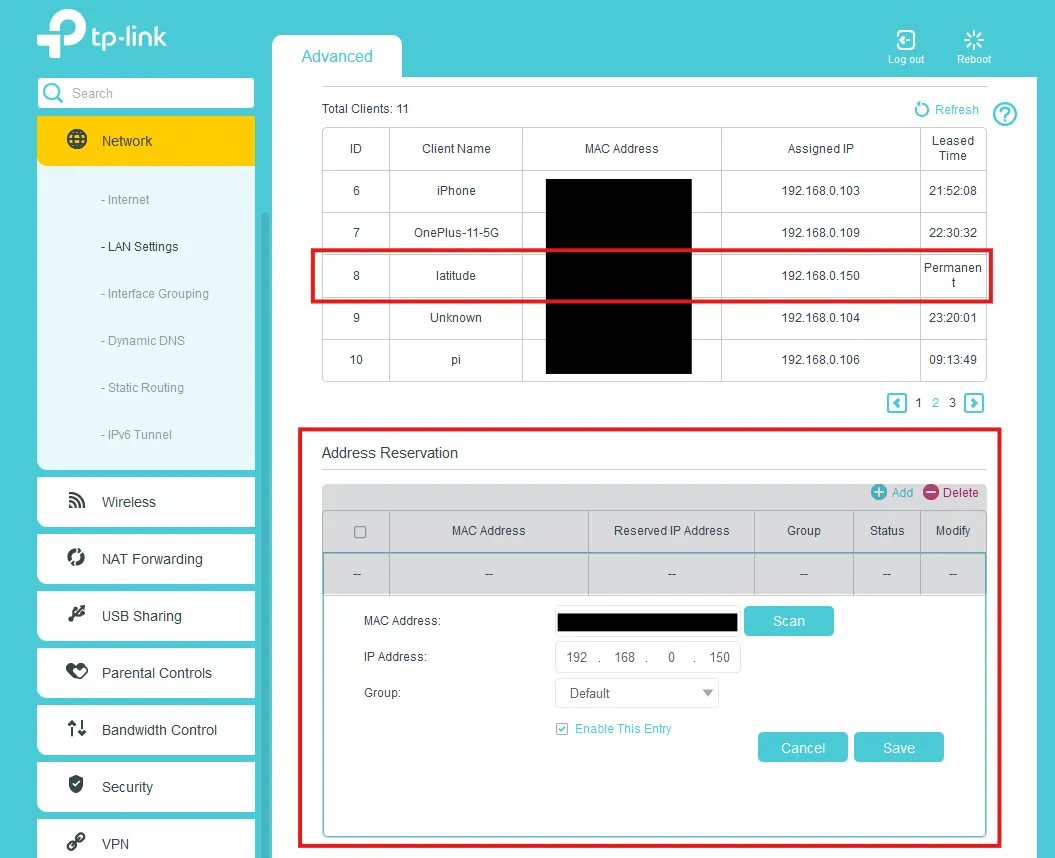
I like to have a static IP for my server. This way I can always connect to it using the same IP. There are many ways to do this. I like to modify the DHCP server to always assign the same IP to the server.
First I reserve the IP for my laptops MAC address, in this case I chose the IP 192.168.0.150
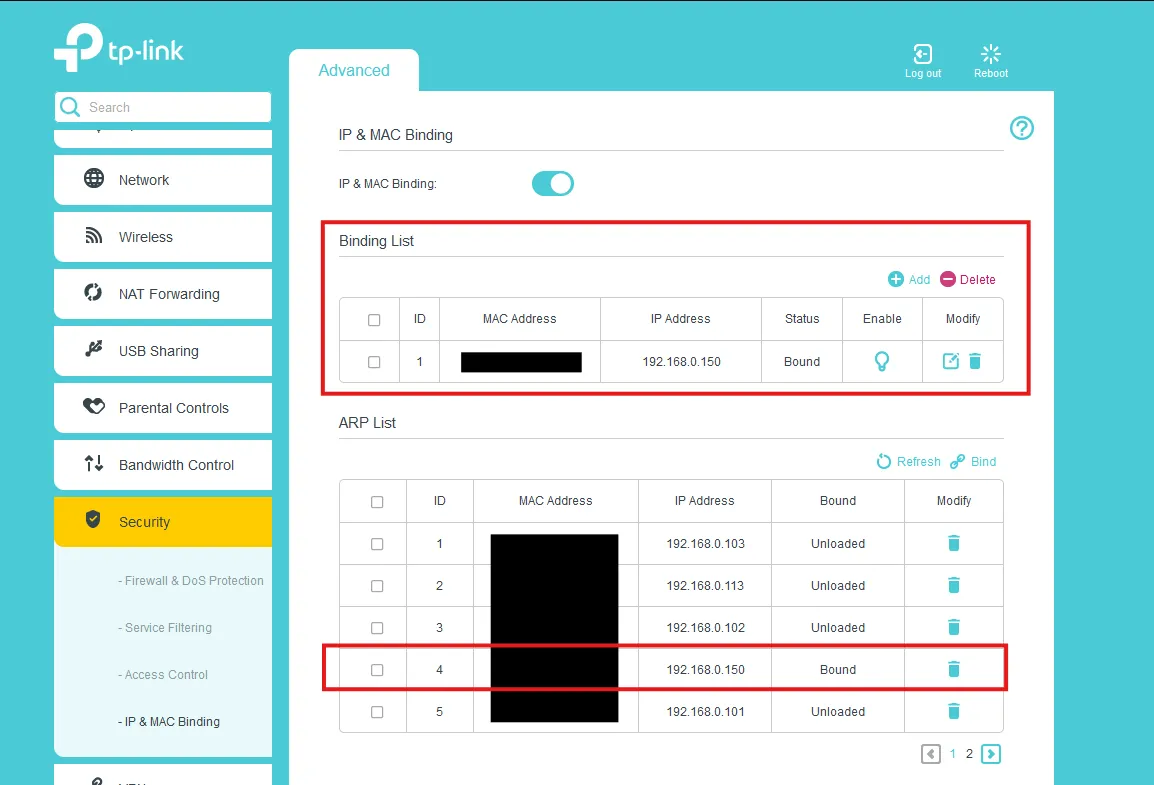
Then I bind the MAC address to the IP in the DHCP server settings. So that the DHCP server always assigns the same IP 192.168.0.150 to the laptop.
Connect to the server
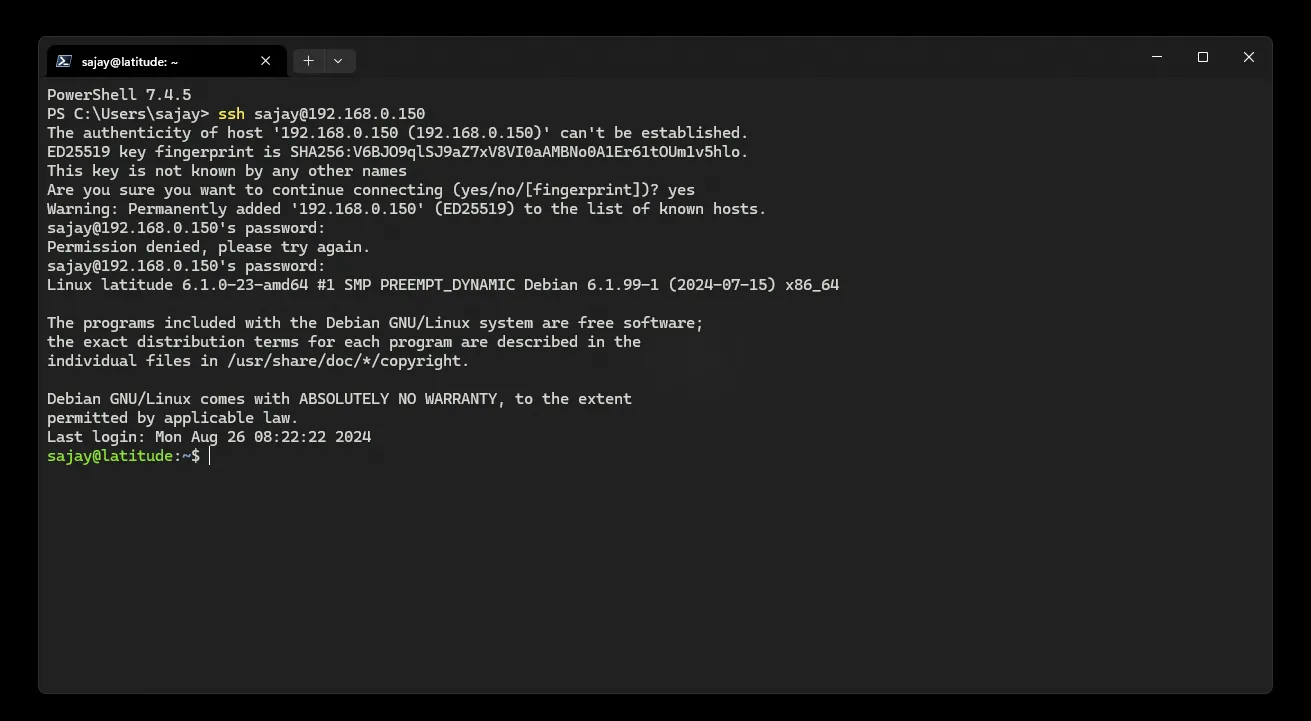
I like connect to my servers using SSH. This allows me to remotely manage the server from another computer. Here I will be using Windows Terminal and run the command
ssh sajay@192.168.0.150 # replace with your username and server IP
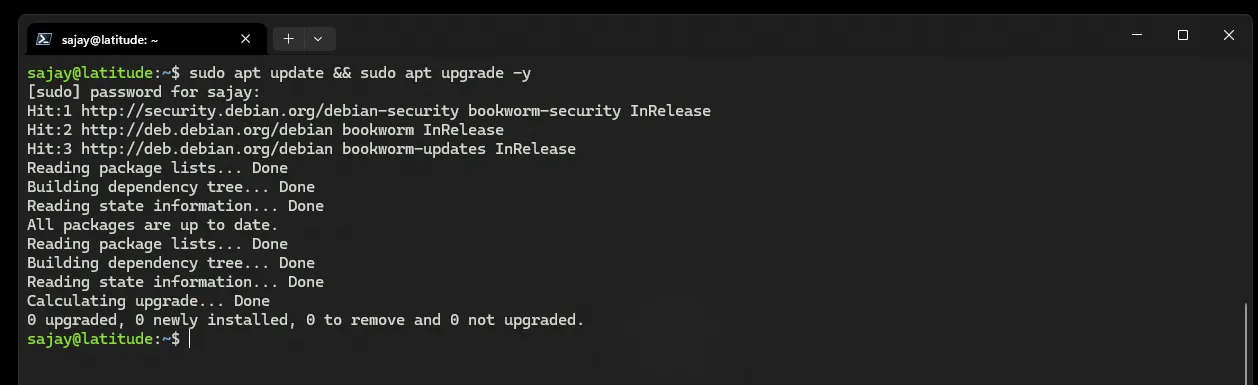
I always like to make sure that my packages are up to date. Since I’m on debian I run the following command
sudo apt update && sudo apt upgrade -y
Laptop specific server tips
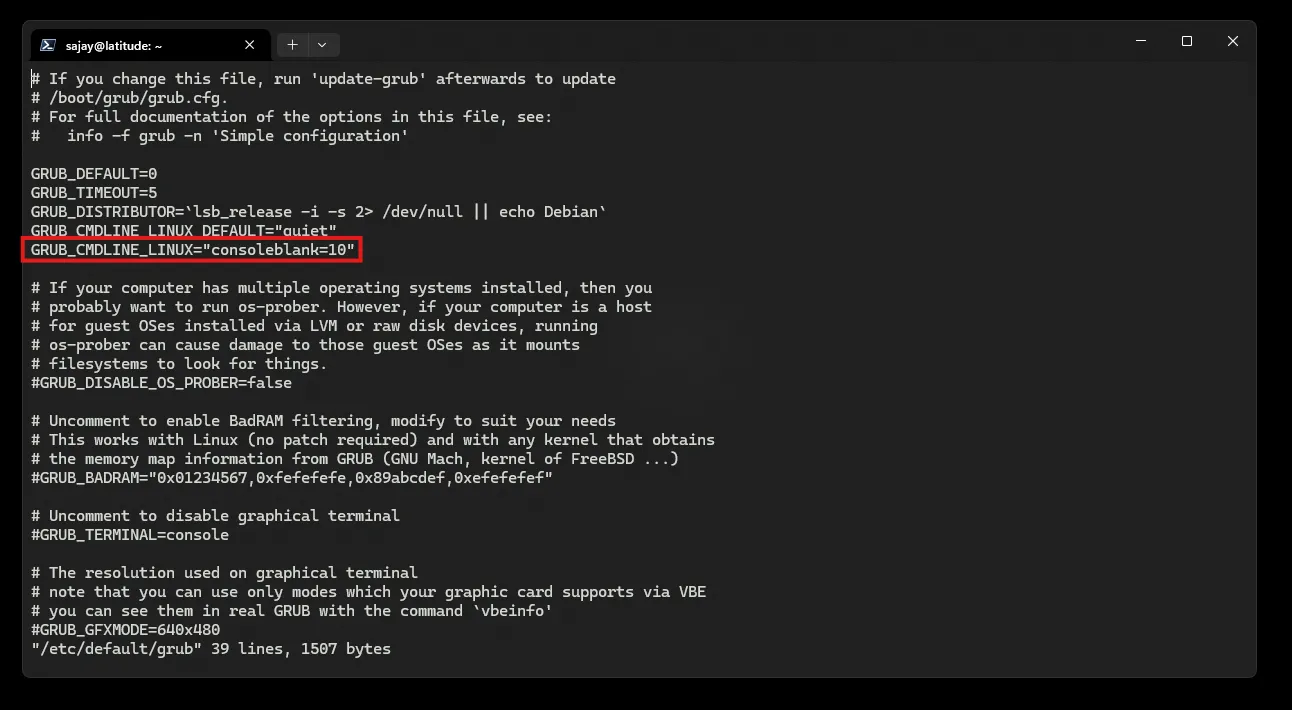
Go to /etc/default/grub and add consoleblank=10 to GRUB_CMDLINE_LINUX_DEFAULT. This will turn off the screen after 10 seconds of inactivity. This is useful if you are using a laptop as a server and you want to save power by turning off the screen when not in use.
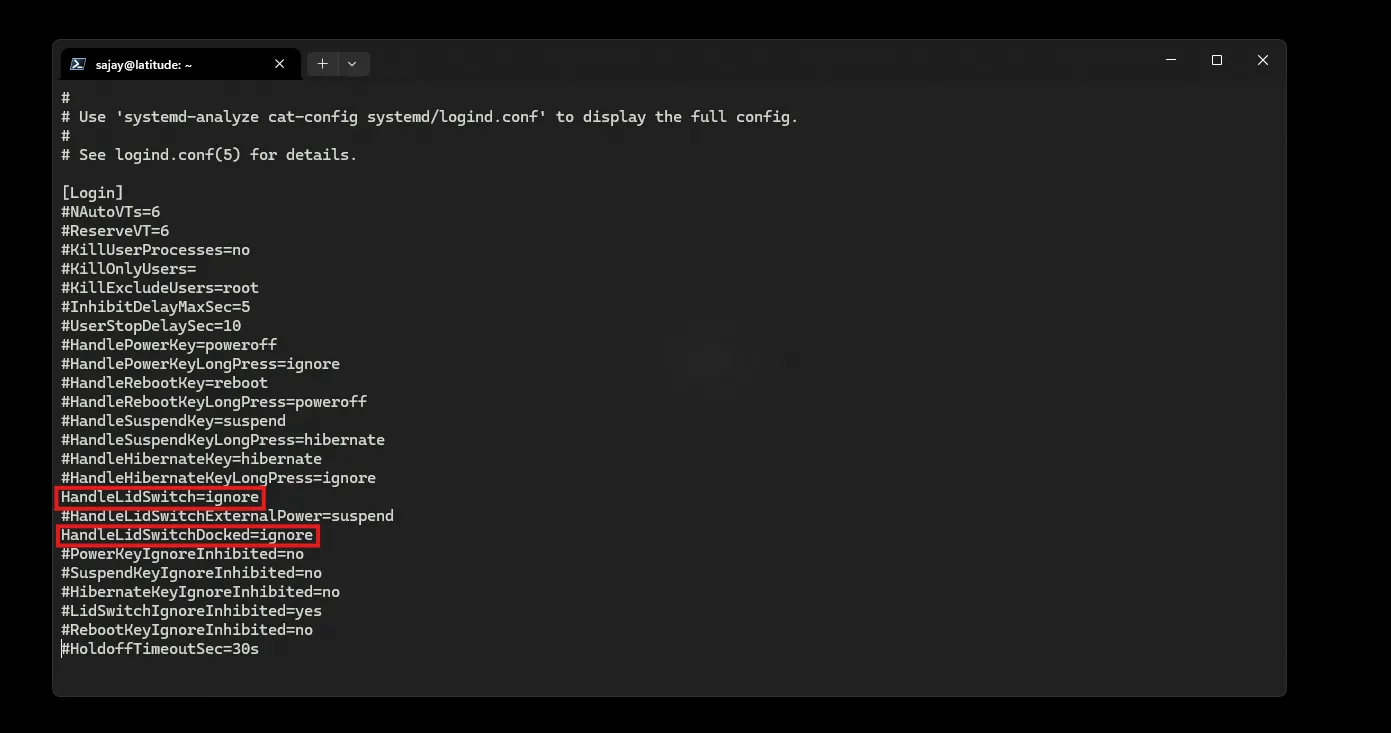
If you want to be able to close the laptop lid and still have the server running, you need to modify /etc/systemd/logind.conf and change #HandleLidSwitch=suspend to HandleLidSwitch=ignore. This will ignore the lid switch and the server will keep running even if you close the lid.
Sysadmin stuff
Since my server will be running 24/7, I want to make sure my server is always secure and up to date. I can login to the server once a week and check for updates but this can become a chore. Luckily, we can automate this process by using a package called unattended-upgrades.
sudo apt install unattended-upgrades
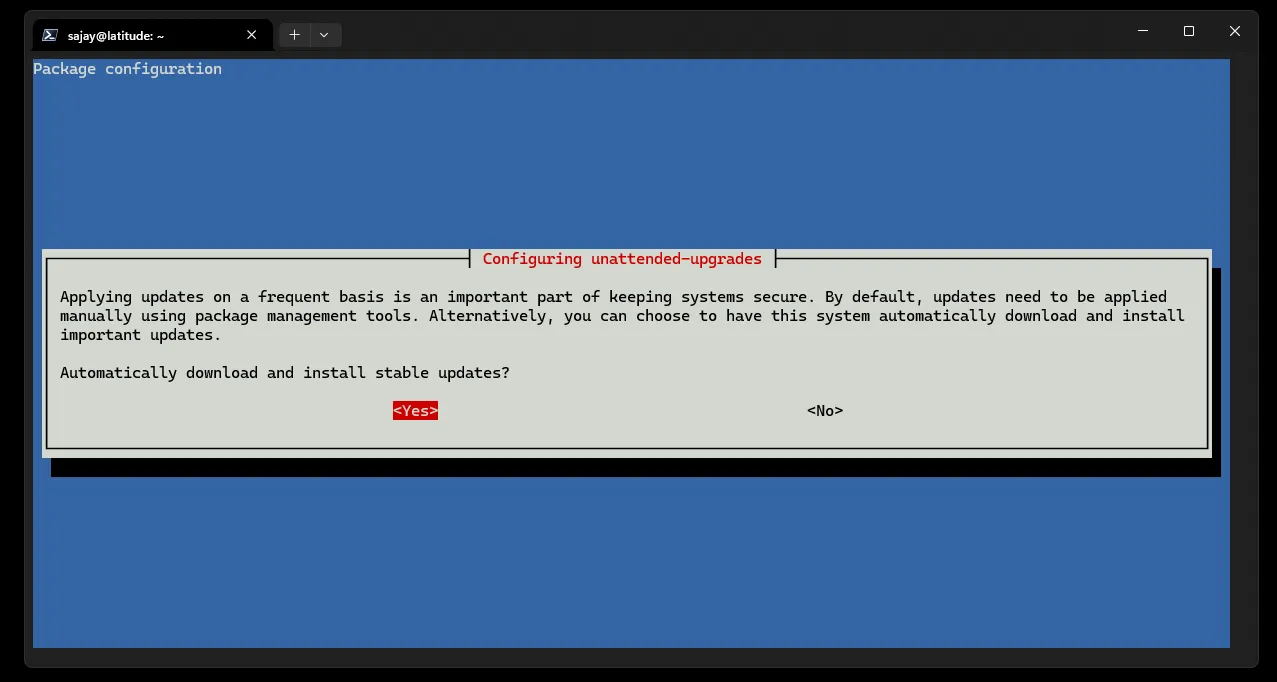
Now that we have the package installed, we need to enable it to automatically install security updates, we can do this by using the following command
sudo dpkg-reconfigure -plow unattended-upgrades
That’s it! Now your server will automatically install security updates. There is so much more you can do to secure your server such as setting up a firewall, fail2ban, configuring ssh, etc but that’s too much to cover in this post and there are plenty of resources online that can help you secure your server.
Do whatever you want with your server
From here, you can choose your own path. You can install a web server, game server, media server, etc. I will be installing docker because I love docker and it makes it easy to manage applications using containers.
To install docker, just follow the steps on their documentation - Install Docker Engine on Debian
You can also use their convenience script (not recommended)
curl -fsSL https://get.docker.com -o get-docker.sh
sudo sh get-docker.sh
Finally, let’s add our user to the docker group to run docker commands without sudo
sudo usermod -aG docker $USER
newgrp docker
Now you can run some containers by using a service like Portainer, Dockge or just using docker compose.
Here are some of the services I have running on my server:
- homepage - my server dashboard
- pihole - network wide ad blocker
- jellyfin - media server that serves movies, shows & anime
- jellyseerr - used to request movies, shows & anime
- qbittorrent - torrent client
- sonarr - downloads and records tv shows legally
- radarr - downloads and records movies legally
- prowlarr - indexer for sonarr and radarr (basically tells where to legally download your content)
- flaresolverr - used to bypass cloudflare captchas
- kasm - containerized desktops over the web (this ones really cool)
- watchtower - automatically updates docker containers
You can copy my docker compose file if you want (not recommended) - My docker compose
If you don’t know where to start I recommend you to checkout these youtube channels:
If you are interested in self-hosting, I recommend you to checkout r/selfhosted. It’s a great community with a lot of resources.
Accessing the server from outside your network
Now, I live in India and I’m behind a CGNAT so I can’t access my server from outside my network by port forwarding. So I use a tunneling service like TailScale VPN.
curl -fsSL https://tailscale.com/install.sh | sh
Then I like to start tailscale by allowing subnet routing and exit node. Check out the tailscale subnet documentation and tailscale exit node documentation for more information.
sudo tailscale up --advertise-routes=192.168.0.0/24 --advertise-exit-node
Setup hardware acceleration
Now, if you want to be able to use your dedicated GPU or iGPU to perform tasks such as hardware transcoding you will have to do some additional steps. This is not required if you won’t be using h/w acceleration.
For debian just follow the HardwareVideoAcceleration guide, google the one for your linux distro.
Debian does not include non-free packages by default, since the driver that I need for transcoding relies on a non-free driver. I will add the non-free repo to my sources.list.
sudo apt edit-sources
Then just add non-free to the end of the sources line and update your sources
sudo apt update && sudo apt install intel-media-va-driver-non-free vainfo vdpauinfo
You can verify h/w acceleration by trying to transcode a media file or by checking vainfo
VAEntrypointVLD = decode
VAEntrypointEnc* = encode
Assert dominance
You have a server now! You are now a home labber, sysadmin, media server owner, game server hoster, etc. I haven’t even scratched the surface of what you can do with a server. You should explore more and see what you can do with your server. Everyone has some use for a server even if it is just for a NAS or a VPN.
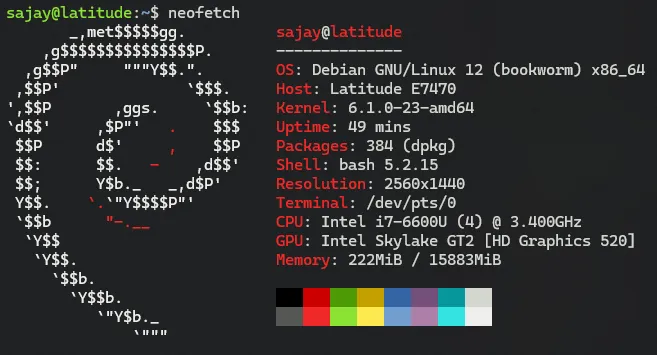
Oh and don’t forget to install neofetch and show off your server to your friends (if you have any)
sudo apt install neofetch